Cooking mode
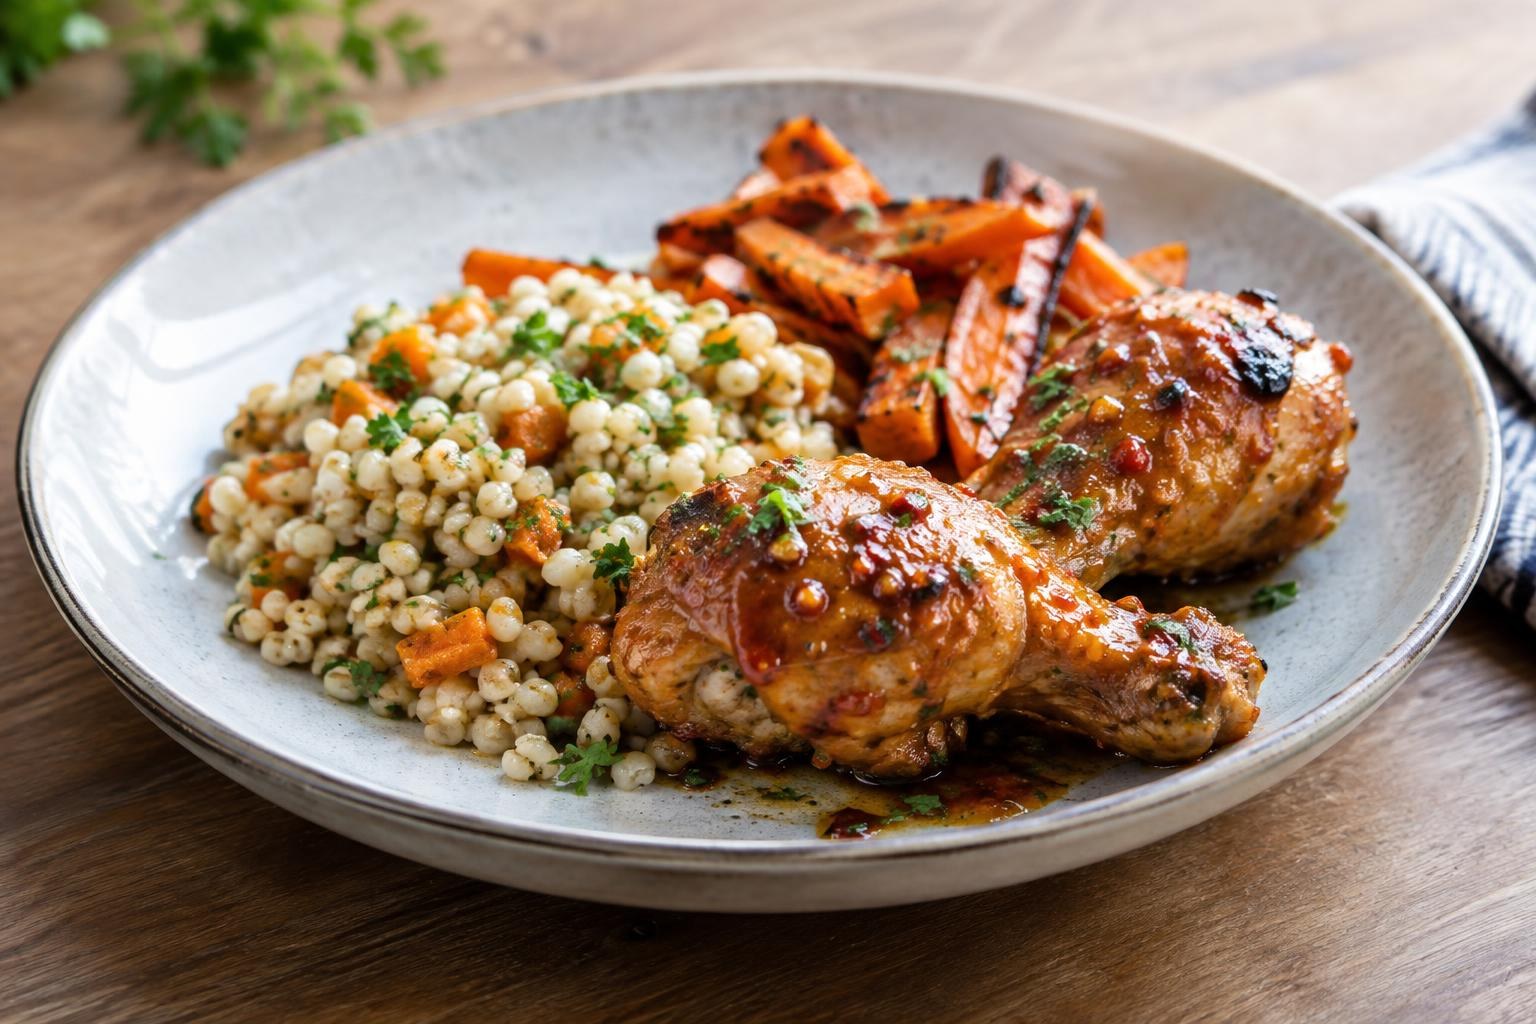
Chicken Drumsticks with Apricot-Harissa Glaze, Barley Groats, and Carrots
70 min4 servingsEasy
Ingredients
- 1,2 kgskin-on chicken drumsticks
- 240 gbarley groats
- 700 mlwater for the groats
- 500 gcarrots
- 100 gdried apricots
- 120 mlwater for the glaze
- 20 gharissa paste
- 20 ghoney
- 1 kslemon
- 2 strúčikygarlic
- 20 mlolive oil
- 2 gground cumin
- 8 gsalt
- 1 gblack pepper
- 15 gfresh parsley
Instructions
- 1
Cook the barley groats
Rinse the barley groats under cold water. Put them in a saucepan with 700 ml of water and 2 g of salt. Bring to a boil, then reduce the heat and simmer partially covered for 35–40 minutes, until tender but still holding their shape. Drain off any water left in the pan.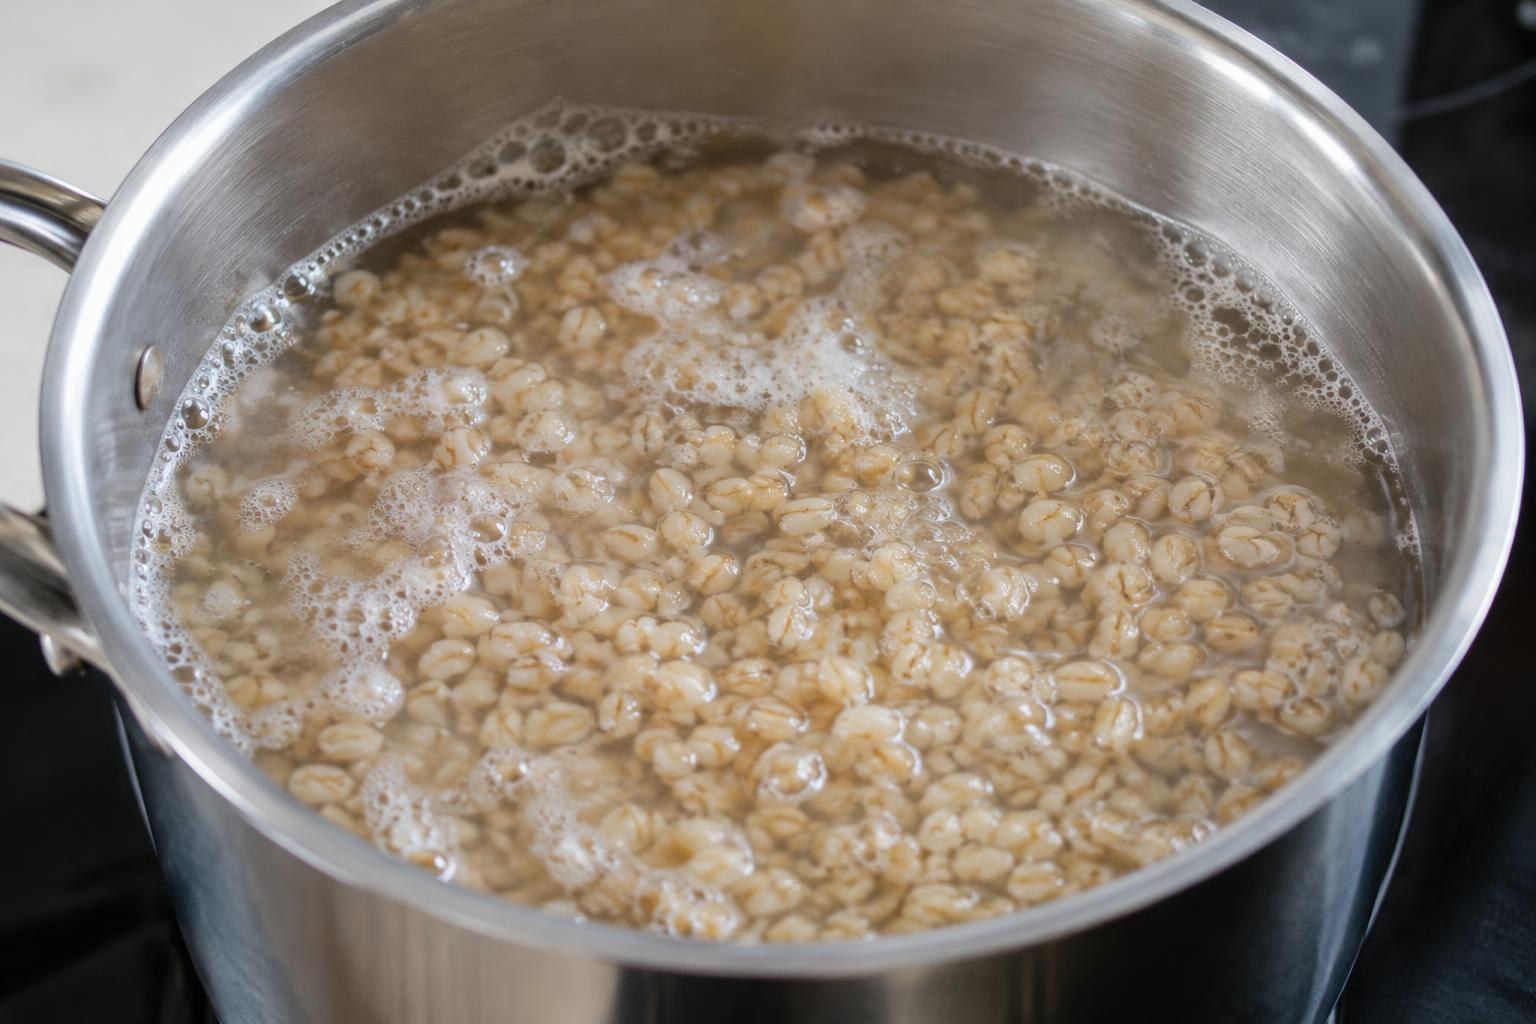
- 2
Prepare the drumsticks and carrots
Preheat the oven to 210 °C. Pat the drumsticks dry with paper towels and toss with 10 ml of oil, 5 g of salt, and the black pepper. Arrange them skin-side up on a baking sheet. Peel the carrots, cut them lengthwise into thick batons, and toss them on a second baking sheet with the remaining 10 ml of oil, 1 g of salt, and the cumin. Roast both trays for 35 minutes, turning the carrots halfway through.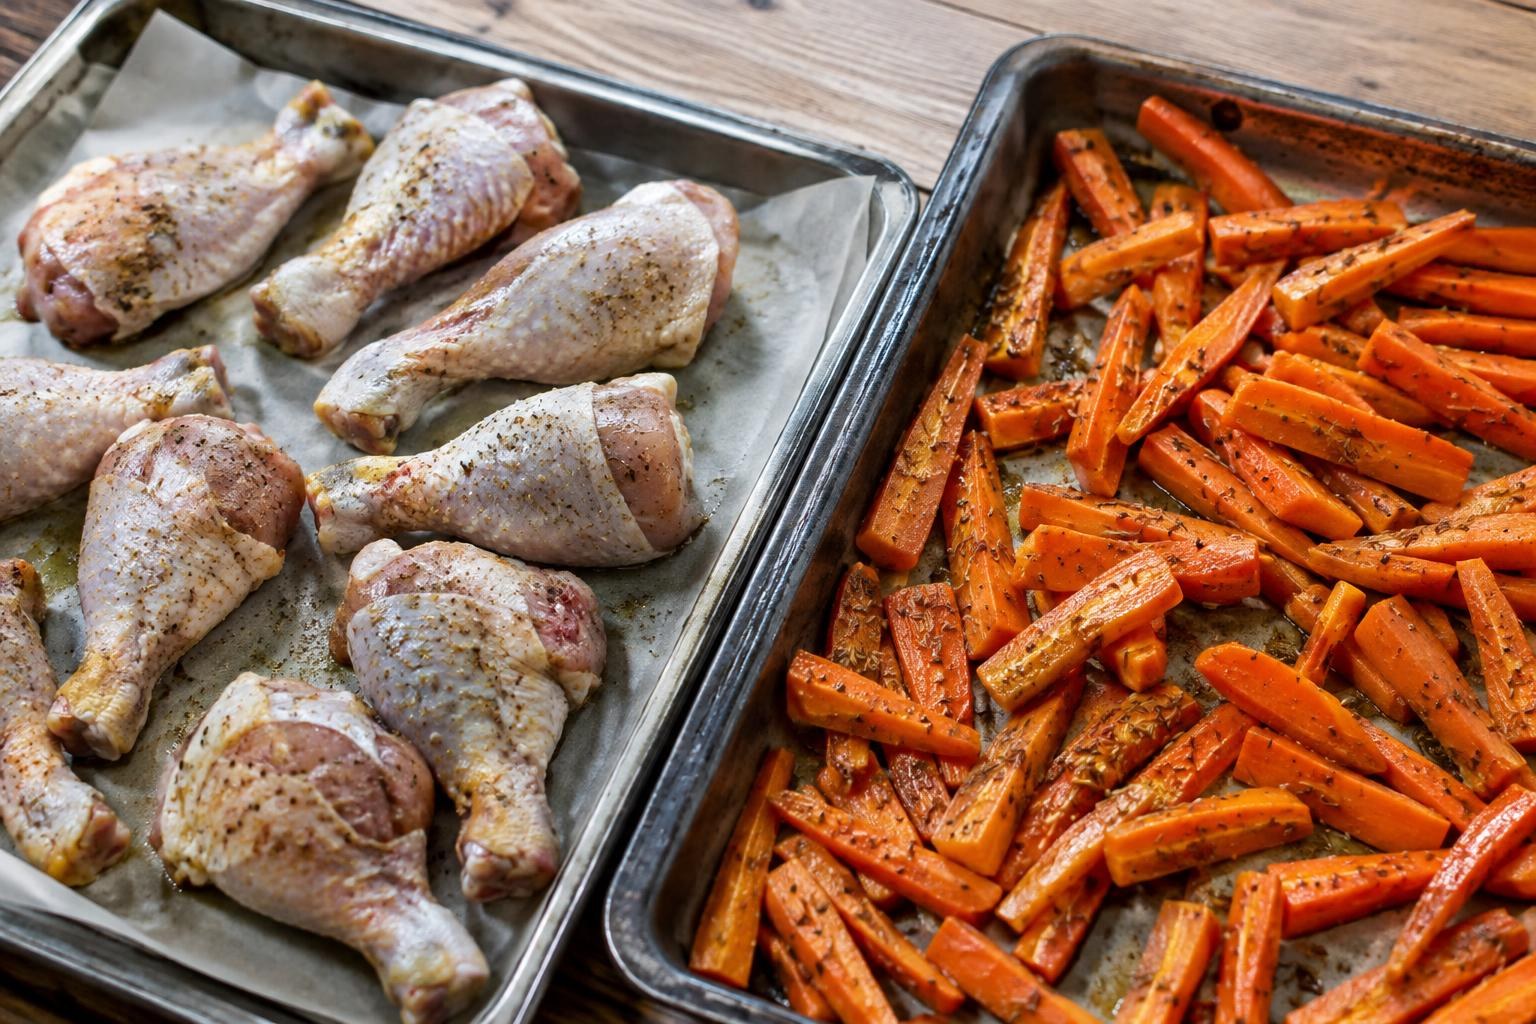
- 3
Make the apricot glaze
Finely chop the dried apricots and put them in a small saucepan with 120 ml of water. Add the harissa, honey, finely grated lemon zest, and crushed garlic. Simmer over low heat for 8–10 minutes, stirring occasionally, until the apricots soften and the mixture thickens slightly. Squeeze in the juice of the whole lemon and stir.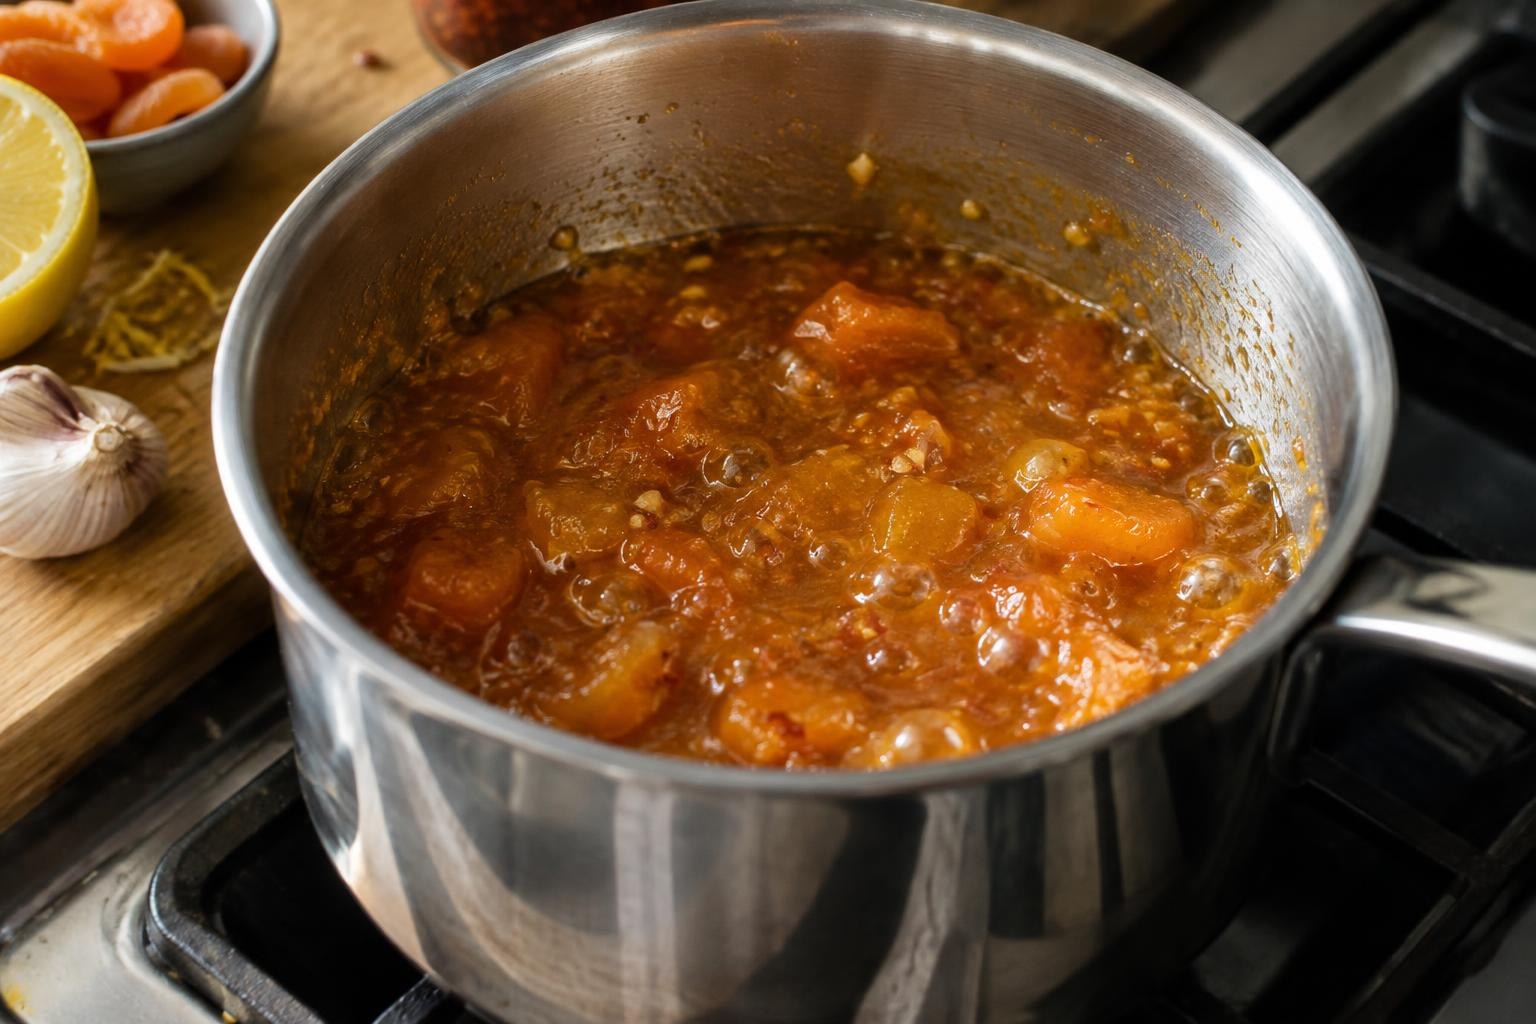
- 4
Finish roasting with the glaze
After 35 minutes, brush the drumsticks with about half of the glaze. Roast for another 10–15 minutes, until the skin is browned and the meat is cooked through; it should reach at least 75 °C in the thickest part near the bone. Remove the carrots when tender and browned around the edges. Serve the remaining glaze at the table.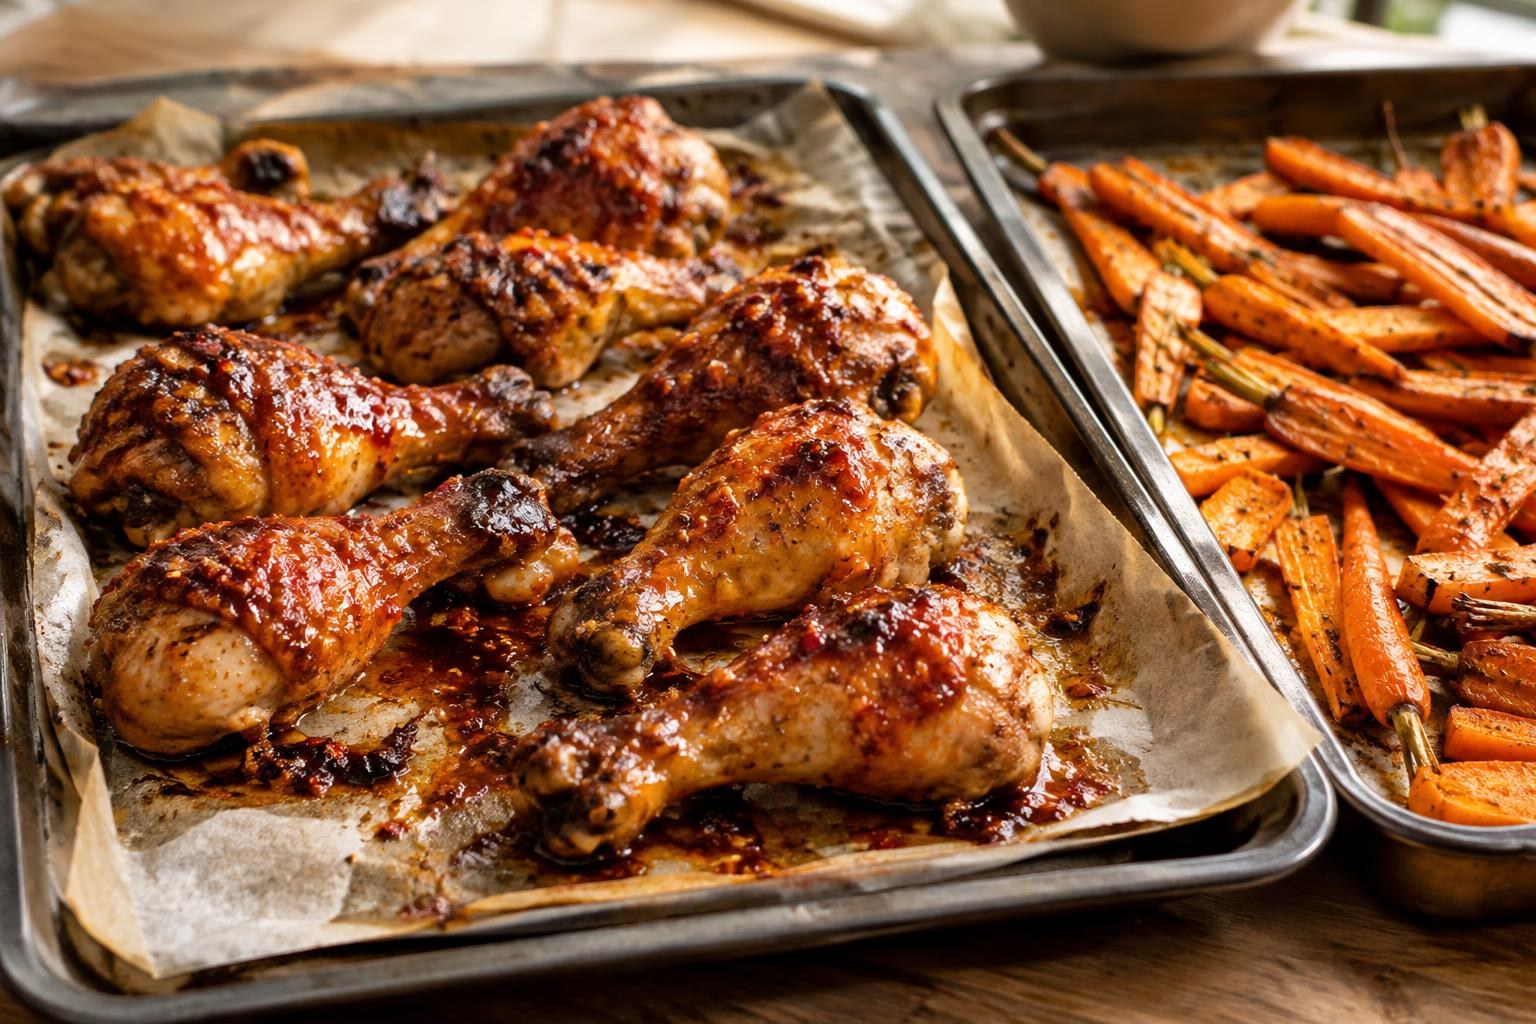
- 5
Serve
Stir the chopped parsley into the cooked barley groats and divide among four plates. Add the roasted carrots and two chicken drumsticks to each plate. Serve hot with the remaining glaze; the apricots' sweetness is balanced by the lemon juice and the heat of the harissa.